Showing posts with label pink. Show all posts

Thursday, April 18, 2013

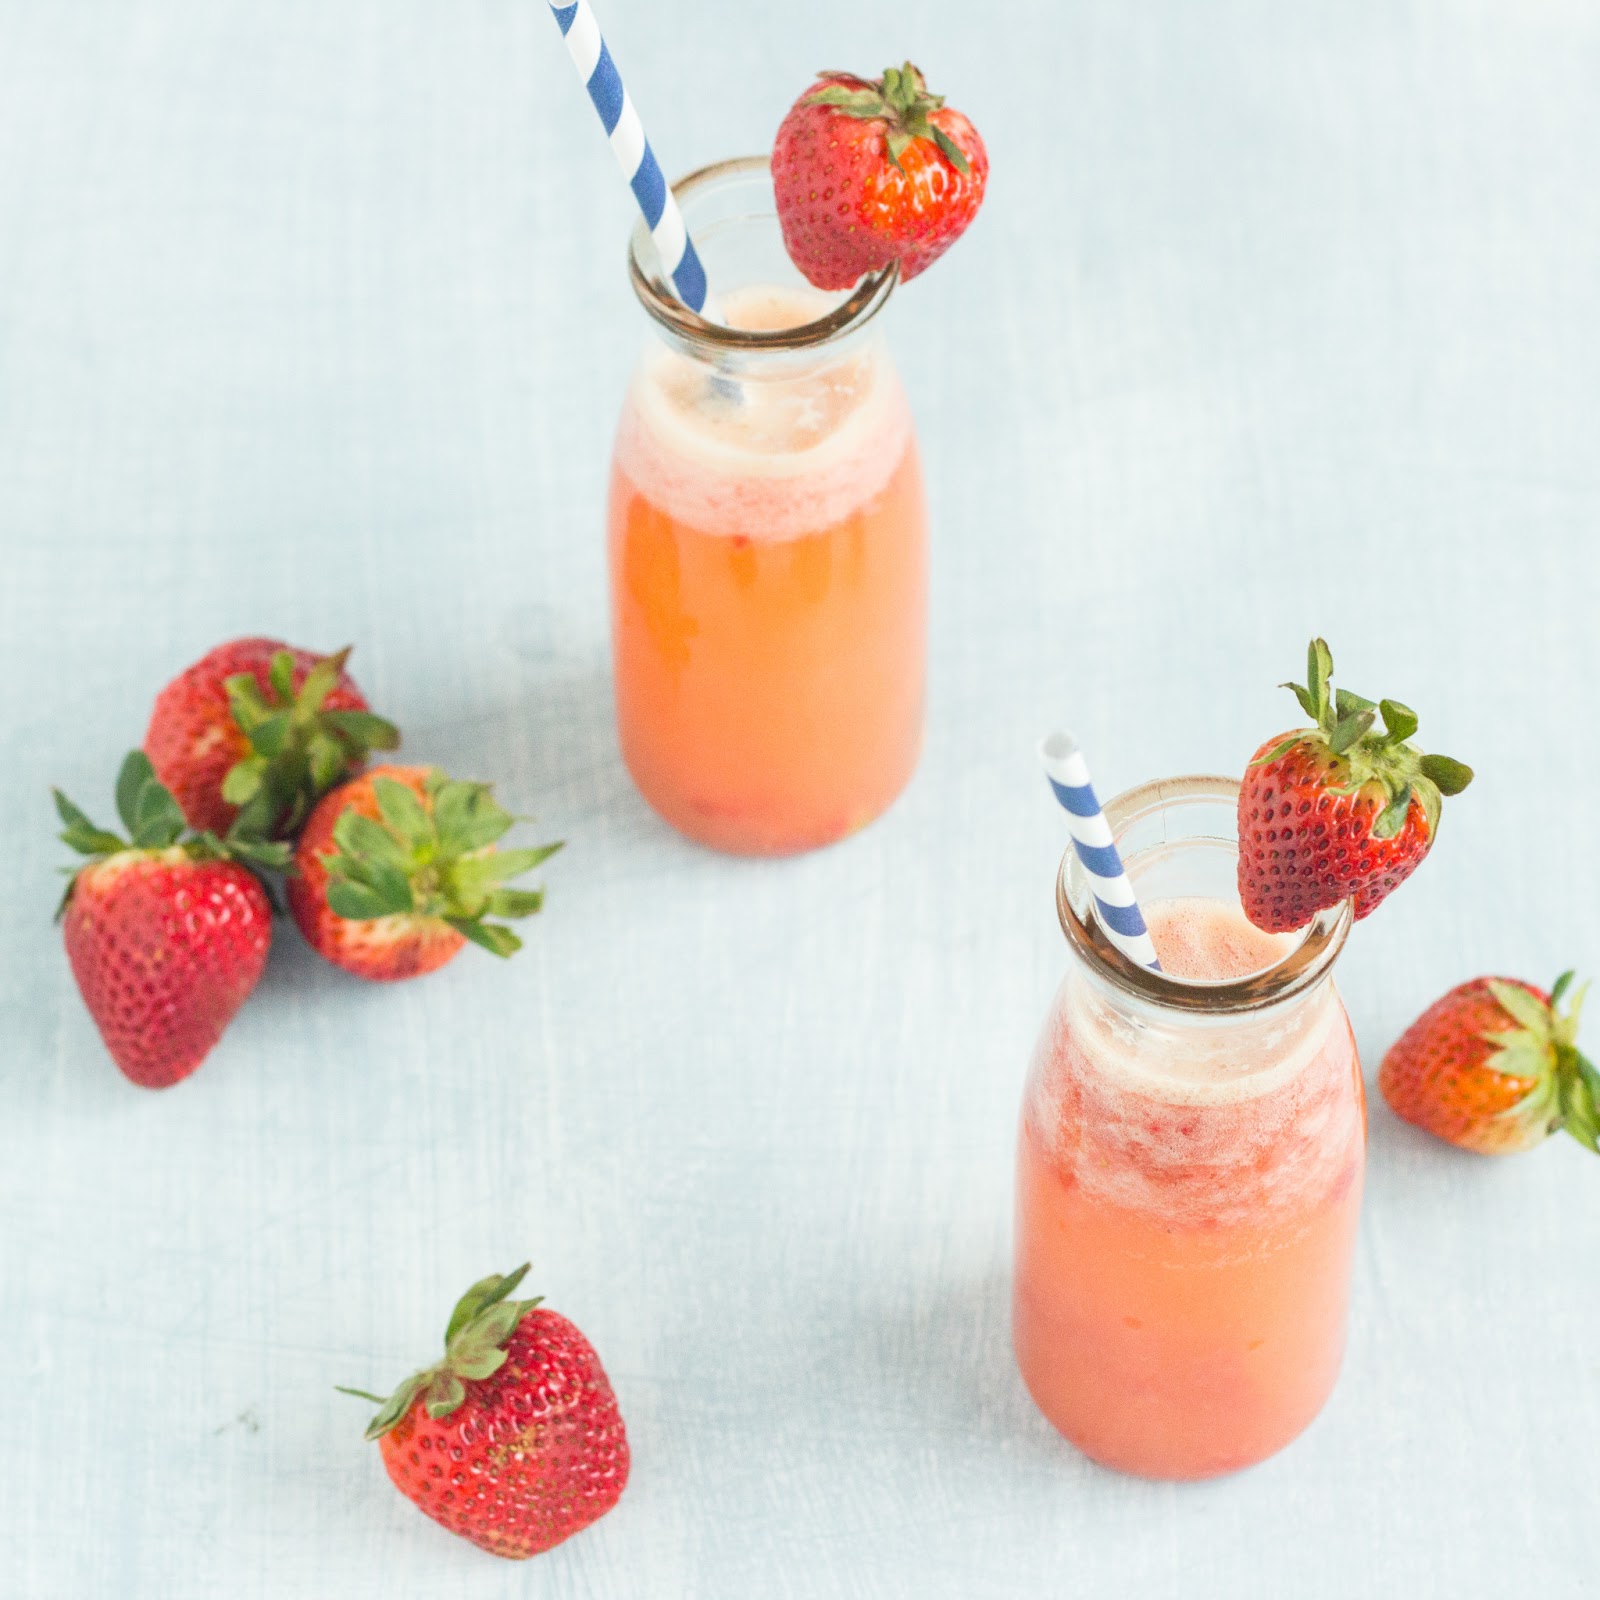
Strawberry Sparkle Juice

Amidst my cookbook habit and penchant for Pinterest recipes, sometimes I need to take a step back and remember what this blog is all about. Food is always on my brain. I love trying out new recipes and sharing old family favorites here on Kid Cultivation. I get all worked up over taking a truly decent food photograph. But really, truly, when it all comes down to it, the reason this blog exists is because of three inquisitive, discerning, droll little beings, none more than 4 feet tall.
Bean received this sweet cookbook for her birthday last month. And it is a cute book, conveniently partitioned into age-based sections with varying degrees of recipe complexity and likelihood of flesh wounds and third degree burns. She was immediately drawn to a cheery pink fruity beverage and wanted to make it. Now.
And here's the ugly truth. I didn't want to make it. 

All it involved was hulling and crushing strawberries to a pulp, pouring in some orange juice, a splash of seltzer and stirring. Any reasonable and not otherwise occupied parent, I'm sure, would have succumbed immediately to the sweet request which came complete with a please and a smile. But it was the witching hour...homework to be done, laundry to be folded, dinner to be made, piano to be practiced, lunchboxes to be unpacked, washed, and repacked. I didn't feel like splattering strawberry juice all over the counters.

But I did. I fought my very grown-up (and totally not fun) urge to pull out the blender and whip it up in 20 seconds for her and instead pulled out the bowls, measuring cups and potato masher. And of course she loved every second of it. Sometimes practical and efficient are not the words of the day. Sometimes we just need to make a mess. Thanks for the reminder, Bean.
Hulling some berries
Strawberry Sparkle Juice
adapted from Cook School

2 cups fresh, ripe strawberries
1 cup orange juice
1 cup seltzer (or plain water for the bubble-averse)

Rinse the berries and place in a large bowl. Use a potato masher to grind them to a pulp.
Use a sieve to strain the strawberry juice into a pitcher or second bowl.
 Pour in the orange juice and seltzer (or water). Stir gently and pour into glasses. Drink her down!
Once I got over myself, Bean's project turned out to be the perfect after school activity. I mean, just check out Roo's enthusiasm.
Forget two thumbs up, that's two arms and two legs up!! They were so excited and pleased with themselves for doing it all on their own. Totally worth the 15 minutes of mashing and washing dishes.
Go ahead. Make the mess. Your kids will thank you.

Friday, April 12, 2013

Radishes in Brown Butter with Lemon

Radishes are so pretty. The vibrant purplish pink really works to their advantage with my pink and purple-loving crew.
The KC kids generally prefer their radishes crisp, raw and thinly sliced and I admit, that's not a half bad way to enjoy them. But beyond salads and the crudite platter, here's a simple, delicious way to showcase radishes in all their springy pink and purple glory.
Radishes in Brown Butter with Lemon
adapted slightly from Cooking Light

2 bunches radishes, including greens
1 tbsp butter
1/2 tsp fresh lemon zest
2 tsp fresh lemon juice
1/4 tsp salt
1/2 tsp sugar
1/2 tsp black pepper

Trim the greens from the radishes, leaving about one inch of stem attached to the bulb. Halve the smaller radishes. Quarter larger ones. Wash the greens and spin dry in a salad spinner. Roughly chop the greens.

Bring a large pot of water to a boil. Add radishes (not the greens!) and simmer until crisp tender...about 3 or 4 minutes. Drain and dry the radishes on a towel.

Melt the butter in a medium saucepan or skillet over medium-high heat. Add the radishes and saute for a few minutes until the butter starts to brown. Add the lemon juice, zest, salt, and sugar and cook one minute more. Remove the pan from heat. Stir in the radish greens and plenty of black pepper.

Thursday, January 31, 2013

Valentine Marshmallow Krispie Hearts

Sometimes nothing beats a Rice Krispies treat, especially a Valentine's Day pink heart Rice Krispies treat with sugar sprinkles. I whipped these up for my funny valentines last week. We had tons of extras so I sent them to school with the little kids for an early Valentine's Day treat.
That's candy coating on top, not frosting, which is a total bonus if you're feeding them to a classroom of 3 to 6-year-olds. No mess. Ok, very little mess.
A word of CAUTION here. I used Wilton Candy Melts. Wilton's allergy information is hazy at best. As far as I can tell, Wilton candy melts don't contain nuts as an ingredient but they are processed in a plant where peanuts and tree nuts are present. I cannot get a straight answer as to whether the manufacturing lines are shared. Thankfully, we've never had a problem personally but if you're baking for anyone with a serious peanut or tree nut allergy, I strongly advise you to use these super guaranteed nut-free candy melts from Vermont Nut-Free Chocolates. Get the white vanilla candy melts and some safe food coloring and you'll be set for any holiday or color scheme. I'll be using them from now on.

Valentine Marshmallow Krispie Hearts

3 tbsp butter
10 ounces marshmallows (any size)
6 cups Rice Krispies cereal
Heart shaped cookie cutters
12 ounces chocolate candy melts
sugar sprinkles or any other sprinkles of your choice

1. Melt the butter in a large sauce pan over low heat. Stir in the marshmallows and continue to stir slowly until they are melted and soupy. Remove the pan from heat and stir in the Rice Krispies.
2. Dump the mixture onto a lightly greased sheet pan or wax paper.
3. Use a spatula sprayed with cooking spray to press the marshmallow cereal into a single flat layer about 1-inch thick. Cool for 15-20 minutes.
4. When the mixture is cool to the touch, cut out heart shapes with your cookie cutters. If things are getting a little sticky, spray the cookie cutters with cooking spray.
5. Melt the candy coating according to the package instructions and spread it onto the hearts. Immediately top with sugar sprinkles or any sprinkles you like. Any red, pink, and white sprinkles would be festive but Roo is exceptionally sensitive to sprinkles so I played it safe with the simplest of sugar crystals. Let the candy coating set and hand them out to all your valentines.