Showing posts with label cake. Show all posts

Wednesday, May 8, 2013

Eggless Lemon Blueberry Cake with Lemon Cream

I baked a version of this lush blueberry lemon cake with eggs for book club a few weeks ago. It must have looked good because soon after, Mufasa put in a last minute request to bring one to "food day" at work. Wondering what all the hype is about, Roo's been clamoring for an egg-free version for weeks. Without further ado....
Roo's Eggless Lemon Blueberry Cake!

That's three times in three weeks! Given the rate at which it's being requested, I'm most grateful that this sweet tart little beaut is not only quick to whip up, but as I've discovered through rampant experimentation, a most forgiving and versatile recipe.
See how the berries formed a layer at the bottom of the cake in the photo above? The key difference I noted between my egg-free version and the original, is that the blueberries tend to sink more in the eggless version, making it imperative that your pan is well-greased, floured, and lined with parchment. Consider yourself warned. Otherwise, bake on with abandon. But don't get too comfortable. Chances are good you're going to be baking this one on instant repeat.

Eggless Blueberry Lemon Cake with Lemon Cream
adapted from TheKitchn.com

For the cake

1 cup all-purpose flour
1/2 tsp baking soda
1/2 tsp baking powder
1/4 tsp salt
2/3 cup granulated sugar
Zest of 1 lemon
4 tbsp (1/2 a stick) of butter
1/2 tsp real vanilla extract
1/4 cup plain Greek yogurt (or vanilla or lemon Greek yogurt)
1/2 cup buttermilk
1 cup blueberries (fresh or frozen)
2 tbsp turbinado sugar

For the lemon cream

1/4 cup heavy whipping cream
1/4 cup lemon flavored Greek yogurt

Preheat the oven to 400 degrees. Grease a round 9" cake pan. Line the bottom with parchment. Grease the parchment. Flour the bottom and sides of the pan.

In a medium bowl, combine the flour, baking soda, baking powder, and salt. Whisk together and set aside.

Put the granulated sugar in a large mixing bowl. Add the lemon zest and use your fingers to massage the zest into the sugar. This is favorite kid job, that is, a job that kids tend to favor,as opposed to a job for your favorite kid. Just make sure your help has clean hands. 
Add the butter and beat with an electric mixer for a few minutes until the mixture is pale yellow, light and fluffy. Don't forget to scrape down the sides and bottom of your bowl. Add the vanilla, yogurt, and buttermilk and beat until everything is well combined.

Add half the flour mixture and beat gently until just incorporated. Scrape down the sides of your bowl, add the remaining flour mixture and beat again until just combined.

Pour the batter into the prepared cake pan. Scatter the berries evenly over the top. Sprinkle the top of the cake with turbinado sugar.

Bake 25-30 minutes until nicely browned on top and set in the center. If the top of the cake starts to get too brown before the center is set, cover the cake with aluminum foil. Remove from the oven and cool 10-15 minutes. Turn the cake out onto a wire rack, carefully remove the parchment paper, and cool completely.

To make the lemon cream, pour the whipping cream into a medium bowl. Whip with an electric mixer until soft peaks form.
Add the yogurt and beat again until you have a luxuriously thick, creamy topping.
 Slice the cake and serve with a dip fat dollop of lemon cream.

Wednesday, March 13, 2013

French Chocolate Cake

March is a big birthday month here at Kid Cultivation and Mufasa is first in line.
Typically I'm all about inclusiveness, food allergies and all, but not when it comes to the point of exclusiveness. You follow, right? I didn't think so.

Backstory: 10 years ago I picked The Cook's Encyclopedia of Chocolate out of the bargain bin at Border's (yup, Border's, remember that relic of the past?) About 3 recipes into the book, there's this deep, dense, elegant, nearly flourless slim chocolate cake that caught my attention. That year, long before the KC kids were in existence, I made it for Mufasa's birthday, at which time he declared it his birthday cake every year from here on out unless otherwise specified. For the record he has never otherwise specified.

Then we entered this strange land of food allergies and eggs, in my baking at least, fell by the wayside. It's not fair to tell a 4-year-old he can't have any cake when everyone else is oohing and ahhing over the fudgy goodness. But, it's not fair to deprive a pre-diabetic adult man his most treasured and anticipated annual indulgence either. So, sorry Roo. This one's for Daddy.
By the way, Roo enjoyed a generously frosted dark chocolate vegan cupcake, much to the dismay of his sisters who were forced to eat the "regular" French Chocolate Cake.
French Chocolate Cake
From The Cook's Encyclopedia of Chocolate

9 ounces bittersweet chocolate, chopped
1 cup unsalted butter, cut into small pieces
1/2 cup sugar
2 tbsp brandy or triple sec
5 eggs
1 tbsp all-purpose flour
powdered sugar (for dusting)

Preheat the oven to 350 degrees. Grease a 9-inch springform pan with butter or cooking spray. Trace the bottom of the springform pan onto a sheet of parchment paper and cut out a circle to fit the base of the pan. Lay the parchment circle in the base of the springform pan, and grease the top of the parchment paper too for good measure. Wrap the bottom and sides of the pan in foil to prevent water from seeping in during cooking. It should look like this:
In a double boiler (or the microwave), melt the chocolate, butter, and sugar, stirring frequently until smooth. Cool slightly and stir in the liquor.

Put a tea kettle on the stove to boil. I'm serious. 

In a separate large bowl beat the eggs lightly for about a minute. Add the flour and beat again. Slowly stir in the melted chocolate mixture and stir until well blended. Pour the batter into the prepared pan.

Place the springform pan into a large roasting pan or other rimmed pan. Open the hot oven and place the whole ensemble on the center rack. Carefully pour boiling water from the tea kettle into the roasting pan until it comes up about 3/4-inch up the sides of the springform pan. Bake 25-35 minutes, until the edges of the cake are set but the center is still a bit soft.
Remove the springform pan from the oven. Be careful not to drip hot water everywhere. Remove the foil and cool the cake on a wire rack. Don't worry if the cake starts to sink in the center. It's supposed to be slim. Remove the side of the springform pan. Let the cake cool completely. Flip the cooled cake over onto your serving platter, so it's bottom side up. Remove the base of the springform pan and the parchment paper.
Cut 6-8 strips of parchment paper and lay them over the cake in a crisscross pattern.
Sprinkle powdered sugar over the top of the cake then remove the strips.
Happy birthday, Mufasa! I hope it was worth the wait.

Monday, November 5, 2012

Allergy-Friendly Apple Marmalade Cake

Can you smell that cinnamon wafting through your screen? The crust crackles under your teeth and just wait until those warm, gooey apples start melting on your tongue. Grab a cup of tea and a fork. Fall gets no cozier. Trust me on this.
Cupcakes and cake pops are great but when the occasion calls for something slightly more elegant yet still unfussy, this apple marmalade cake is the way to go. It's incredibly allergy-friendly with no nuts, no eggs, no dairy, and no soy but don't worry. You'll never miss them.
I've given this cake as a gift, made it for birthday parties, potlucks, brunches, dessert, Thanksgiving, and yes, we've eaten it for breakfast. Versatility is key. 

To date I've not met a cynic who after trying a single bite, hasn't bought in to my personal philosophy that nut-free, egg-free, dairy-free, whatever-free can't be incredibly, decadently, soul-achingly delicious.
Allergy-Friendly Apple Marmalade Cake
adapted from The Divvies Bakery Cookbook

3 cups flour
1 tsp salt
1 tsp ground cinnamon
1 tsp baking soda
1 tsp baking powder
1 & 1/2 cups canola oil
1 & 1/2 cups sugar
1/2 cup pear puree or applesauce (jarred baby food works)
1/3 cup orange marmalade
5 Granny Smith apples, peeled, cored, and diced small
1 tbsp powdered sugar for dusting

1. Preheat the oven to 350 degrees. Coat a bundt pan with cooking spray.
2. Whisk together the flour, cinnamon, baking soda, and baking powder. Set aside.
3. In a separate large mixing bowl, beat the oil and sugar, starting at low speed and slowly increasing to high speed for a total time of about 3 minutes. Add the applesauce and marmalade. Beat one minute more.
4. Add the dry ingredients to the wet and mix until well combined. You'll notice the batter start to clump together, almost like dough. Fold in the diced apples.
5. Pour batter into the sprayed bundt pan and bake for 60-75 minutes. The cake is done when a toothpick inserted into the center comes out clean. Remove from oven and allow cake to sit for 5-10 minutes before inverting onto a cooling rack. When cool, dust with powdered sugar before serving.

Serves 12. Or 3 if I'm invited.

Monday, July 9, 2012

JoMo's Zucchini Cake with Lemon Cream Cheese Icing


My mom, aka JoMo or Nana, has been making this cake since before I was born. A site to behold, isn't it? It was the much anticipated payoff for hours spent weeding our massive vegetable garden and tolerating the plethora of beets it produced. Now, every year as soon as the zucchini harvest starts rolling into the farmers market, I get the craving.
Most of the time I strive for Roo-safe baking. It's not always easy due to his egg allergy. The texture on this baby is so perfect, however, that I couldn't bring myself to use Egg Replacer, which made the whole ordeal scandalously indulgent. Roo helped grate zucchini and mixed in non-egg ingredients but he couldn't eat the finished product. Luckily I had plenty of Divvies Choco-lot Brownie Cookies in the freezer.

Of course you could forgo the frosting and bake this in bread pans for a more traditional breakfast style quick bread but don't do it! The voluptuous curves, thick dribble of cream cheese icing weeping down the sides, and a sprinkling of citrus zest elevate this humble quick bread to an entirely different plane.
JoMo's Zucchini Cake with Lemon Cream Cheese Icing

3 eggs
1 cup vegetable oil
2 and 1/2 cups sugar
2 cups raw, unpeeled, grated zucchini
2 tsp. cinnamon
1 tsp. salt
1 tsp. baking soda
1/4 tsp. baking powder
3 cups flour, sifted

1. Preheat the oven to 350 degrees. In a bowl beat the eggs until foamy. Gradually beat in oil and sugar. Add grated zucchini, cinnamon, salt, baking soda, and baking powder. Mix well. Gradually blend in flour, mixing well after each addition.

2. Pour batter into a greased 3-quart Bundt pan and bake for one hour or until the cake tests done and begins to leave the sides of the pan. Cool in the pan for 10 minutes. Loosen the edges with a knife and turn onto a cake rack to cool.

For the Lemon Cream Cheese Icing

1 8-ounce package cream cheese, room temperature
1 tsp. vanilla extract
3 tbsp. lemon juice
2 tsp. lemon zest, divided
3 cups powdered sugar

1. Beat the cream cheese, vanilla, lemon juice, and 1tsp. lemon zest in a large bowl. Gradually mix in powdered sugar stopping at your desired consistency. For zucchini cake I like to keep the frosting thick but just little runny so it will drip down the sides.
2. When the cake is completely cool, spoon icing on top, letting it ooze and drip down the sides. Sprinkle with remaining lemon zest.

Tuesday, May 22, 2012

Cake Pops and Art Cupcakes

Looly turned six last week. Six!
Between her school celebration cake pops, chocolate dipped pretzel rods for Roo to take to school so he could participate in the 2 additional school birthday celebrations of the week, and Looly's actual birthday party cupcakes, I was a dipping, frosting, sprinkling fool.

Cake pops are the ideal kid assisted treat. There's plenty of measuring, pouring and mixing, but more importantly, there's cake smashing and mauling, both skills my children excel at. And, they're made of cake. And frosting.

I'm not going to provide a cake pop recipe here because you can really use any cake, frosting, or candy coating you like. The process is what matters. If you want more information, I highly recommend Cake Pops: Tips, Tricks, and Recipes For More than 40 Irresistible Mini Treats by Bakerella.

Carrot cake pops with cream cheese frosting are magical but more often than not, I end up using Cherrybrook Farms cake mix (vanilla or chocolate) because it's nut-free, egg-free, gluten-free, dairy-free, vegan, ridiculously easy, and tastes pretty good. There is a wide world beyond allergy-free vanilla and chocolate but I make a lot of cake pops for preschoolers with allergies so...
5 Steps to Cake Pops

1. Bake a cake. Any cake. Cool it. Crumble it into a bowl.
2. Mix in some frosting (homemade, store bought, whatever) until it resembles a sticky cookie dough. Chill for an hour or two.
3. Roll cake-frosting concoction into balls. Chill again for an hour.
4. Melt candy melts or candy coating. Dip lollipop sticks into candy coating and insert about 3/4 of the way into cake pops. Chill again.
5. Finally, dip cake pops into melted candy coating and add sprinkles or decorations before the coating sets. If you want them to stand up like lollipops, use a styrofoam block or cake pop stand to hold them once they are dipped.
After we ate all the cake pops, it was time for artsy cupcakes for Looly's baking-themed art party at Magical Minds art studio. I totally ripped this idea off Pinterest, and I believe All You magazine is the original source, but how freakin' cute are these "paint" cupcakes?

Just be sure to use gel food coloring. The colors become much more vibrant than with liquid.

Monday, May 14, 2012

Little House Party

Looly's 6th birthday is coming up later this week. I'll spare you the where has the time gone gush since truth be told, it hasn't been all hugs and rainbows. Sure she's decent kid now but I still haven't forgiven her for four months of colic. Or the Northwest Airlines diaper incident of 2006. She knows what I'm talking about.

Despite our rocky start, I've grown rather fond of the little moppet in recent years. And she has had some kick ass birthday parties, including last year's Little House on the Prairie Pioneer Camp Out.

Tin cup party favors, bonnets, and covered wagon models for all!
Fresh squeezed lemonade. Ma would have remembered to take the tags off the bottoms of the cups
I wore that pink dress as a flower girl in a wedding in the early 1980's and my grandmother sewed the red and gold number for my sister in the 1970's. That's right, baby. Vintage. Nana picked up the bonnets at an Amish market.
Sullen prairie girl. You'd think we made her live in a dugout.
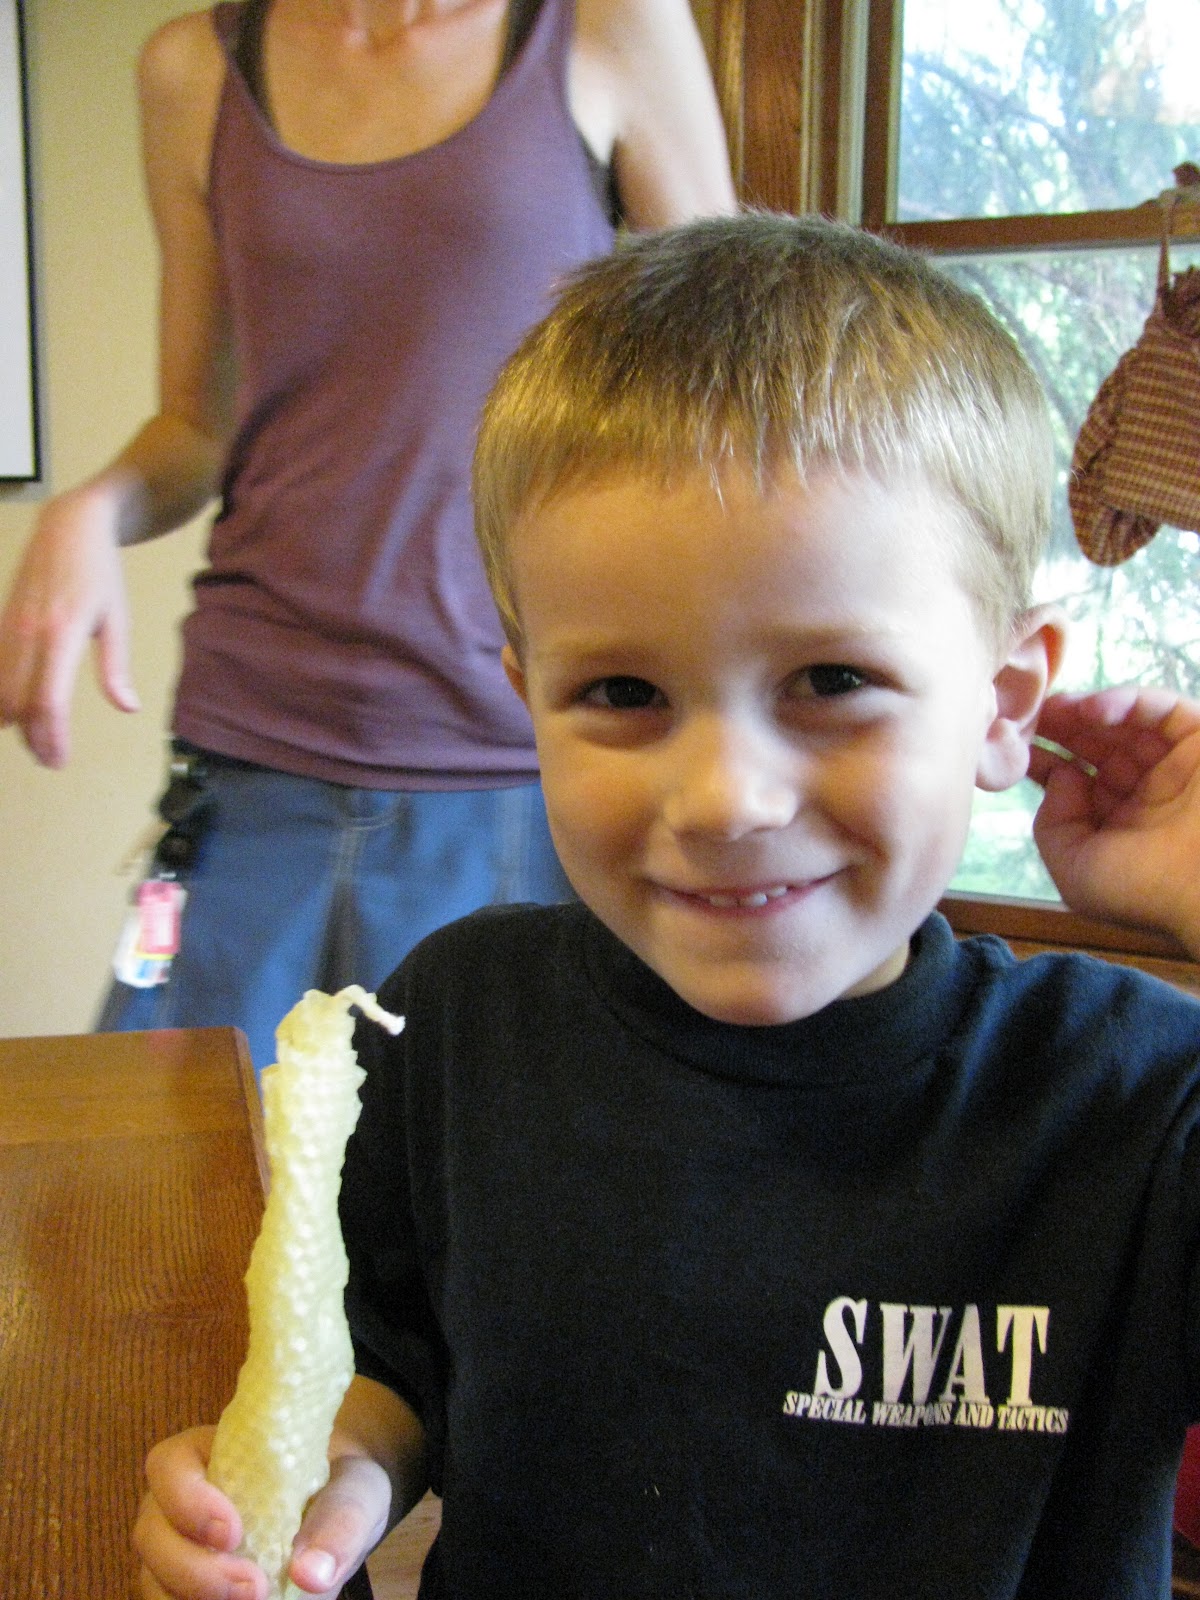
Making beeswax candles


Setting up for the water pail relay. Girls v. Boys
Camping safety debriefing with Pa

Tent-pitching chaos
The frosting is tinted with a raspberry juice. No artificial dyes in LHOTP!


Looly Ingalls Wilder
This year she's doing it up with a baking-themed art party. Try not to fall off the edge of your seat in anticipation. Happy almost 6th birthday, Looly. Thanks for learning to use the outhouse.

Friday, April 13, 2012

Icing on the Cake

There's a snazzy icing color chart on pages 88-89 of the latest issue of Food Network Magazine (May 2012). Forty-six shades from Pina Colada to Pinot Noir, and you can mix them all with any basic Red-Blue-Yellow-Green box of food coloring. Honestly, what is more satisfying than swirling a few drops of yellow and red into a pristine bowl of ivory buttercream, instantly transforming it to a sunny papaya orange?! I got so excited mixing my colors I busted out the piping bag for some spring flower cupcakes. I didn't even let the kids help!


I made simple buttercream using the following recipe, but the chart in the magazine provides variations if you'd rather skip the mixer and use white grocery store frosting. It's important to use the ratio for your particular frosting, since the butter in real buttercream gives the frosting a soft yellow cast, while frosting from a can will appear more bright white.

Simple Buttercream Frosting

1 cup unsalted butter
3 cups confectioners sugar (or more if frosting is too soft)
2 teaspoons real vanilla extract
3-4 tablespoons milk

Beat butter until smooth. I find that if I use the paddle attachment on my KitchenAid stand mixer, I don't need to soften the butter. If you're using a hand mixer with beaters, you might want to let it sit at room temperature for a few minutes before you begin. Add powdered sugar and beat again, starting slow so the sugar doesn't go flying all over the place. Once the sugar is incorporated, add your vanilla and the milk, one tablespoon at a time, until you get the consistency you'd like. And if you don't like the consistency, don't worry. This is a most forgiving formula.

If your frosting comes out too soft, add a little more confectioners sugar until it firms up a bit. Too firm? Add a splash more milk and beat again. 

Fortunately I had someone to frost for this week. Happy Birthday to my dear friend, Rhea! I hope you liked your cupcakes.

Friday, March 23, 2012

Two 4-year-olds

Bean and Roo celebrated the big 0-4 last week with a several days-long extravaganza that included a fun-filled visit from Nana and Grampy.


 60 pink and green sprinkle-laden egg-free, nut-free cake pops to share with their classmates.

Note Looly's tragic "why does everybody else get a birthday but me" look in the background.
An epic trip to the water park, and yes, Nana and Grampy went down the slides too!


Tons of presents including multiple princess dresses for you know who. And since I forgot the oil and our room had no mixing bowl or mixer, one decadently improvised-on-vacation egg-free, nut-free, candy-covered chocolate birthday cake.

Happy birthday, Bean and Roo! I am exhausted.